How to Build a Camera-to-Cloud Workflow From Scratch
Camera-to-Cloud moves footage from set to post automatically — no card pulls, no hard drive shuttling. Here's how to build the workflow from scratch.

Camera-to-Cloud has moved from a luxury workflow reserved for high-end productions to something accessible to any team with a compatible camera and a Frame.io account. The core idea is simple: footage moves from the camera to a cloud platform automatically, without anyone manually copying files to a hard drive and shuttling them to post.
For productions with remote editors, fast-turnaround deadlines, or distributed teams, this changes everything.
What Camera-to-Cloud Actually Does
Traditional production workflows have a gap between when footage is captured and when an editor can touch it. Someone has to pull the card, copy the files, verify the transfer, label the drives, and physically or digitally move them to post. On a fast-moving production that gap can be hours.
C2C closes that gap. Proxy files — lower-resolution versions of the original footage — are generated and uploaded to the cloud in near real-time during the shoot. An editor on the other side of the world can begin assembling a rough cut while the production is still rolling.
The original high-resolution files stay on the camera's media card as the master. The proxies are what travel.
What You Need to Get Started
The entry point for a C2C workflow depends on how you want to approach it.
The most integrated option is a camera with native C2C support — Sony, Canon, and Nikon all have models that connect directly to Frame.io via WiFi or ethernet. You pair the camera to a Frame.io project in the app, and uploads begin automatically when you cut.
If your camera doesn't have native support, hardware solutions like the Atomos Sumo and Teradek Cube sit between your camera and the cloud, handling the proxy generation and upload themselves. These work with a much wider range of cameras.
For smaller productions, the Frame.io Camera to Cloud app on an iPhone or iPad can also serve as a simple C2C device when paired with compatible cameras over USB or WiFi.
Setting Up Frame.io
Frame.io is the industry standard platform for C2C and remote collaboration. Create a project, set up your folder structure to match your production's scene and take organization, and connect your camera or device.
When footage uploads it appears in the Frame.io project in near real-time, organized by the structure you set. Producers, directors, and clients can leave time-coded comments directly on the footage without touching the edit.
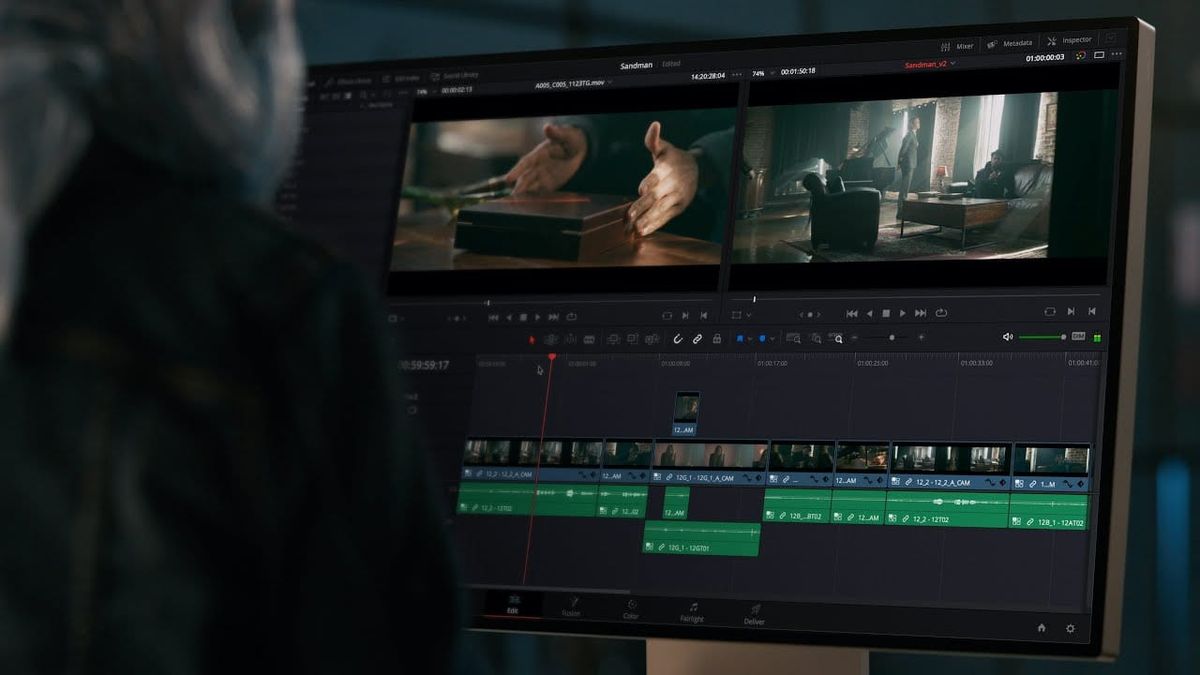
Frame.io integrates natively with Adobe Premiere Pro and DaVinci Resolve, so editors can pull proxy footage directly into their timeline without downloading files manually.
Reconnecting to High-Resolution Media
One thing worth understanding before you commit to a proxy workflow: at some point you'll need to relink your edit to the original high-resolution files.
In Premiere Pro and DaVinci Resolve this is a straightforward process — point the software at the folder containing your original media and it reconnects automatically based on file names and timecode. The edit stays intact, the proxies are replaced by the full-res originals for final color and export.
Plan your folder structure and file naming at the start of production. Inconsistent naming creates headaches at the relink stage.
Is It Worth It for Smaller Productions?
C2C was built for large productions with distributed teams and tight turnarounds. For a solo shooter doing corporate videos or short-form content, the overhead may not be worth the setup.
The threshold is roughly: if you have a remote editor, a client who wants to review dailies, or a production that spans multiple days and locations, C2C pays for itself immediately. If you're shooting and editing yourself in the same room, a fast card reader and organized hard drives will serve you just as well.