Why DaVinci Resolve Can Feel Slow Right Out of the Box, and How to Fix It
DaVinci Resolve's default settings are built for pro environments, not your laptop. Here's what to change before your next project.

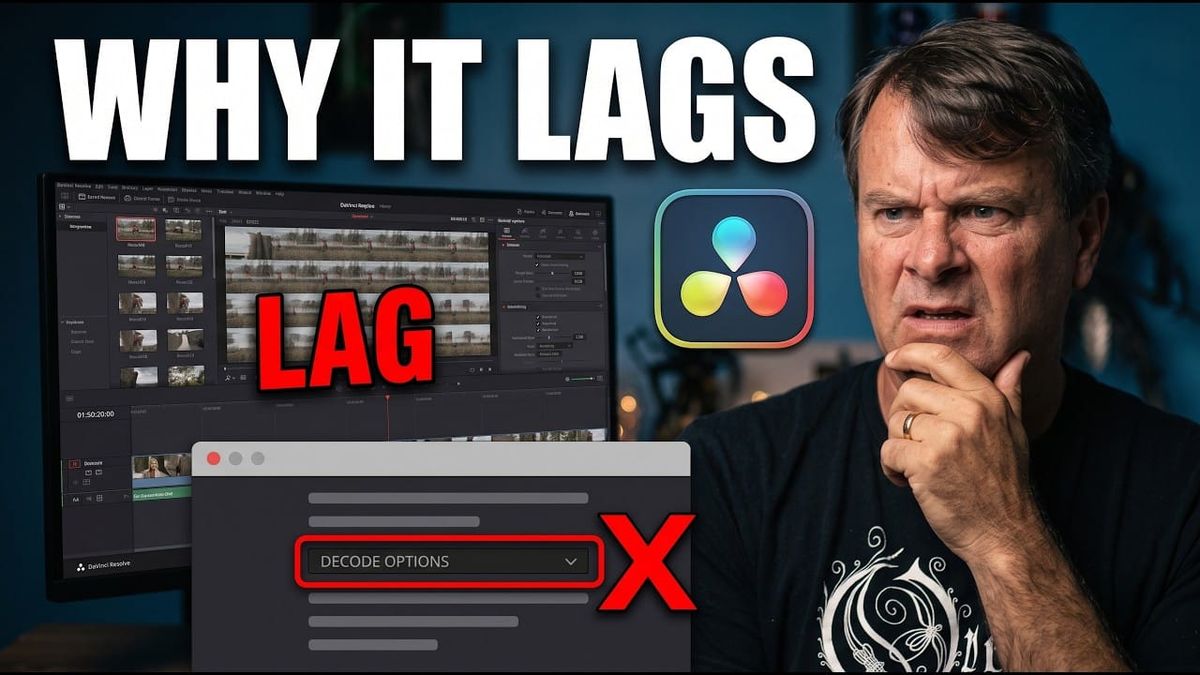
DaVinci Resolve's default settings are tuned for high-end professional post-production environments, not the laptop or desktop most independent creators are actually editing on. Editor Michael Feyrer Jr. breaks down the specific defaults responsible for lag, stuttery playback, and washed-out exports, and what to change before starting your next project.
GPU Processing Shouldn't Be Left on Auto
Resolve leans almost entirely on the GPU for image processing, more than most editing software, which relies more heavily on the CPU. Feyrer's core advice: set GPU Processing Mode explicitly rather than leaving it on Auto, CUDA for Nvidia cards, Metal on Mac, OpenCL for AMD. On systems with multiple GPUs, laptops especially, make sure Resolve is pointed at the dedicated graphics card rather than integrated graphics, a common, invisible cause of severe performance drops.
Memory Allocation Defaults Are Too Conservative
Resolve reserves roughly half of available system RAM by default. Feyrer recommends users with 16GB or more push that allocation up to 70-75% or higher, giving Resolve meaningfully more headroom for playback and rendering rather than fighting the system for resources it's not using.
Hardware Decoding Is an Easy Miss
Hardware-accelerated video decoding, offloading frame decoding from the CPU to compatible graphics hardware, should be checked directly in system preferences. Left disabled, decoding falls back entirely on the CPU, a common source of dropped frames on modern, highly compressed footage like H.264 and H.265.
Timeline Settings Should Match Your Source, Not Your Target
Timeline resolution and frame rate need to match the actual footage being edited, not the intended export target. Mismatched settings force real-time conversion during playback, introducing timing issues and stutter that have nothing to do with raw hardware power.
A Silent Scaling Mistake
Input scaling defaults to "scale full frame with crop," which silently stretches mismatched media to fill the frame. Feyrer recommends switching to "center crop with no resizing" instead, avoiding unwanted stretching entirely when mixing footage from different sources or aspect ratios, a mistake that's easy to miss since it doesn't throw an error, it just quietly looks wrong.
Color Science: Don't Touch What You Don't Understand
Resolve assumes familiarity with its wide-gamut color pipeline by default. For standard YouTube-bound footage, Feyrer's advice is to stay on standard DaVinci YRGB color science unless you specifically understand what a wide-gamut workflow requires and why you'd want one.
As Feyrer puts it: "Resolve assumes that you know what DaVinci YRGB color science means, it assumes you've already matched your timeline to your actual camera, it assumes CPU rendering is set perfectly, and none of these assumptions are correct for most people."
Competitive Context
This setup burden is a real structural difference from Adobe Premiere Pro, which leans on dynamic cache allocation and sequence settings that largely auto-match your first imported footage.
Resolve requires explicit configuration across its preferences and project settings panels instead, which makes initial setup a genuine pain point specifically for editors transitioning from Premiere or Final Cut, not a sign that something's broken.
The Signal in the Noise
None of these are advanced settings, they're closer to basic housekeeping most tutorials skip because they assume you've already handled them.
As Feyrer notes: "If you just installed DaVinci Resolve and hit new project without touching a single setting, you're already working against yourself." Ten minutes in preferences before your first real project saves far more time than troubleshooting lag mid-edit later.
Have you run into any of these specific issues in Resolve before tracing it back to a default setting rather than your actual hardware?
The Details
- GPU Processing Mode: set explicitly (CUDA/Metal/OpenCL), never leave on Auto
- Multi-GPU/laptop systems: point Resolve at the dedicated GPU, not integrated graphics
- Memory allocation: increase from the ~50% default to 70-75%+ if you have 16GB RAM or more
- Hardware-accelerated decoding: enable in system preferences to offload from CPU
- Timeline resolution/frame rate: match source footage, not export target
- Input scaling: switch from "scale full frame with crop" to "center crop with no resizing"
- Color science: stay on standard DaVinci YRGB unless you understand wide-gamut pipelines
- Delivery page YouTube preset: auto-matches resolution/frame rate, includes audio normalization