How to Expose S-Log3, C-Log2, and N-Log Without Guesswork
Log footage looks flat, which makes it easy to misjudge exposure. Here are the middle gray targets for S-Log3, C-Log2, C-Log3, and N-Log, plus how to use zebras, false color, and extra exposure.


Log footage looks flat and gray on the monitor, which makes it easy to misjudge exposure. Underexpose it and the shadows fill with noise in the grade. Overexpose it too far and the highlights clip for good.
The fix is to stop judging log by eye and expose to known targets. Here’s where middle gray should sit for Sony’s S-Log3, Canon’s C-Log2 and C-Log3, and Nikon’s N-Log, plus how to use zebras, false color, and a little extra exposure to get cleaner footage.
Why Log Footage Is Harder to Expose
Log profiles compress a camera’s full dynamic range into a flat image, so there’s more information to work with in post. The tradeoff is that the image on your screen doesn’t look like the final result, and normal “looks right” instincts don’t apply.
Each log curve also puts middle gray at a different level. A properly exposed S-Log3 shot and a properly exposed N-Log shot will read differently on a waveform, so you need to know the targets for your camera.
Middle Gray Targets by Log Profile
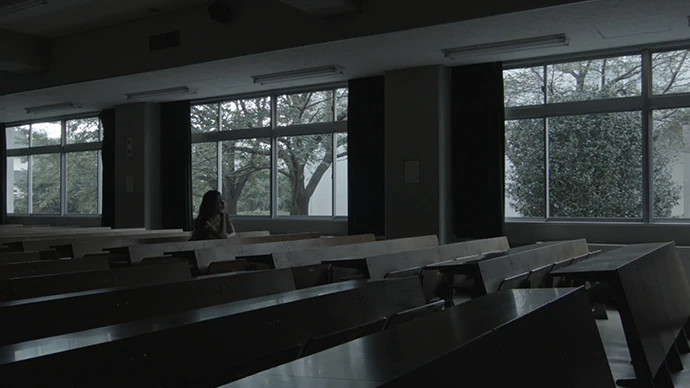
Middle gray (an 18% gray card) is the most reliable reference point for exposing log. These are the standard targets on a waveform or IRE scale:
| Log Profile | Cameras | 18% Gray | 90% White |
|---|---|---|---|
| Sony S-Log3 | FX5, FX3, FX30, a7S III, Venice | 41% | 61% |
| Canon C-Log2 | C80, C70, C400 | ~39% | — |
| Canon C-Log3 | C80, C70, C50, R5 C | ~34% | — |
| Nikon N-Log | Z5 IIC, ZR, Z6 III, Z8 | ~35% | ~61% |
Sony’s S-Log3 figures come from Sony’s own technical documentation. Nikon has published 35% as the middle gray target for N-Log, and the 90% white figure comes from independent testing by Wolfcrow.
Step 1: Shoot at Base ISO
Log profiles are designed around a camera’s base ISO. On the Sony FX5, that’s ISO 800, 4,000, or 12,800, and on the Canon C80 it’s 800, 3,200, or 12,800.
Stay at a base ISO and control exposure with aperture, ND, and lighting. Your shutter should stay at double your frame rate, as covered in What Shutter Speed Should You Use for Video?.
Step 2: Use Zebras for Highlights
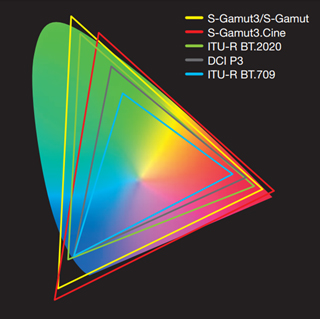
Zebras show striped lines over any part of the image above a set brightness. For log, the most useful setting is just below your camera’s clipping point, so you can see when highlights are about to blow out.
A second zebra set to your skin tone target is also helpful. Many cameras let you run two zebra settings at once.
Step 3: Use False Color or a Waveform for Everything Else
False color shows exposure levels as colors across the frame, which makes it easy to check skin tones and middle gray at a glance. A waveform shows brightness levels from left to right across the frame and is more precise.
Many cinema cameras, including Canon’s Cinema EOS line, include false color, and external monitors from Atomos, SmallHD, and others add it to cameras that don’t have it. If your camera only has a waveform, place your gray card or key subject at the middle gray target in the table above.
Step 4: Consider Overexposing Slightly
Many shooters expose log a half stop to a stop and a half brighter than the standard target, a technique often called exposing to the right. The extra exposure reduces visible noise in the shadows once the footage is brought back down in the grade.
The limit is clipping. Only add exposure if your highlights still have room, and keep the overexposure consistent across a scene so shots match in post.
S-Log3 in particular tends to show noise in the shadows when underexposed, which is why a slight overexposure is common practice on Sony cameras.
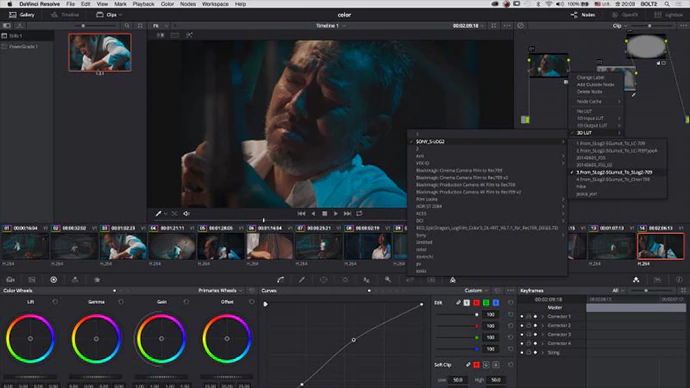
Step 5: Monitor With a LUT, Expose on the Log Signal
Viewing LUTs and display assist modes make log footage easier to look at while framing and focusing. Sony calls this Gamma Display Assist, and most cameras and monitors offer something similar.
Use the LUT to judge the image, but read your exposure tools on the log signal. Some cameras apply zebras and false color after the LUT, which changes the numbers, so check your camera’s settings.
Competitive Context
Each manufacturer handles log differently. Sony uses S-Log3 across its Cinema Line and Alpha cameras, Canon offers both C-Log2 for maximum dynamic range and C-Log3 for an easier grade, and Nikon’s N-Log appears on its Z-series bodies alongside N-RAW and R3D NE.
Raw formats give even more flexibility in post, but the same exposure principles apply. For Nikon’s raw option, see What Is N-RAW?.
The Signal in the Noise
The simplest reliable method is to shoot at base ISO, put a gray card at your profile’s middle gray target, and keep highlights out of your clipping zebra. If your camera’s shadows look noisy in the grade, try adding a half stop to a stop of exposure on your next shoot.
Once exposure is consistent, the grade gets much easier. For more on turning log footage into a finished look, see What Is a DRT in DaVinci Resolve?.
The Details
- S-Log3: 18% gray at 41%, 90% white at 61%
- C-Log2: 18% gray at ~39%
- C-Log3: 18% gray at ~34%
- N-Log: 18% gray at ~35%
- ISO: Shoot at a base ISO
- Highlights: Set zebras just below clipping
- Overexposure: Optional half stop to 1.5 stops, highlights permitting
- Monitoring: View through a LUT, expose on the log signal
Do you expose log right at middle gray, or push it brighter? Share your go-to settings in the comments.