How to Light a Scene With One Light
One light, placed and modified correctly, can produce images that hold up against anything a six-light setup delivers. Here's how to make it work.

The instinct when you're starting out is to add more lights. More lights means more control, more options, more ways to fix problems. What experienced cinematographers know is that one light — placed and modified correctly — can produce images that hold up against anything a six-light setup delivers.
One-light work isn't a limitation. It's a discipline that teaches you more about light than any multi-source setup can.
Start With the Quality of Light
Before you touch the placement, decide what quality of light you want. Hard light comes from a small source relative to the subject — a bare bulb, a direct LED panel, an unmodified flash. It produces defined shadows with sharp edges and high contrast.
Soft light comes from a large source relative to the subject — a big softbox, a bounce off a white wall, light coming through a large window. It wraps around the subject and produces gradual shadow transitions.
Neither is inherently better. Hard light is dramatic and sculptural. Soft light is flattering and natural. The choice depends on what the scene is trying to say.
The 45-Degree Starting Point
When in doubt, start at 45 degrees. Position your light source roughly 45 degrees to the side of your subject and 45 degrees above eye level. This is the foundation of classic portrait and interview lighting — it creates depth on the face by illuminating one side while allowing the other to fall into shadow.
From this starting point you can make adjustments. Moving the light further to the side increases contrast and drama. Moving it closer to the lens flattens the light and reduces shadows. Moving it higher creates more pronounced shadows under the nose and chin.
Use Negative Fill to Add Contrast
With a single light source, the shadow side of your subject is lit only by whatever ambient light exists in the room. In most environments that means some degree of unwanted fill light that softens your shadows and reduces contrast.
Negative fill solves this. A black flag — a black piece of foam core, a black curtain, or a dedicated black panel — placed on the shadow side of your subject absorbs ambient light and deepens the shadows. This gives you more control over contrast without adding a second light source.
This is the technique that separates one-light setups that look intentional from ones that look accidental.
Distance Controls Falloff
Moving your light source closer to the subject makes it effectively larger relative to the subject, which softens the light quality. It also increases the falloff — the rate at which light diminishes as it moves away from the source.
A light placed close to a subject will illuminate the subject brightly while the background drops off quickly into darkness. A light placed far away produces more even illumination across both subject and background.
Use this relationship to control how much of your frame is lit and how the background relates to your subject.
Practical Lights as a Second Element
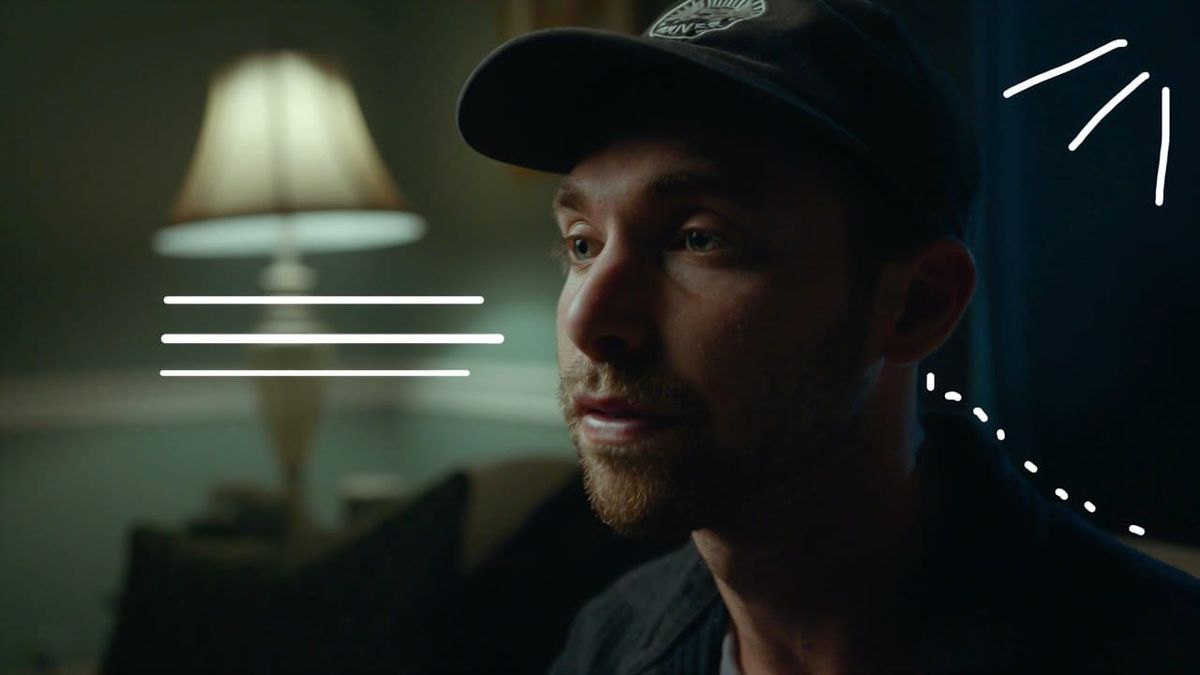
Working with one dedicated light source doesn't mean your frame has to be simple. Practical lights — the lamps, neon signs, screens, and ambient sources that exist within the scene — can function as secondary elements that add depth and color to the background without requiring a second lighting instrument.
A warm practical lamp in the background of a cool-toned interview setup adds dimension to the frame without complicating the lighting workflow. The practical isn't doing the job of lighting your subject — it's doing the job of making the frame feel inhabited.