What is a LUT and How Do You Use One?
A LUT maps one set of color values to another — either converting between color spaces or applying a creative look. Here's what they are and how to use them correctly.

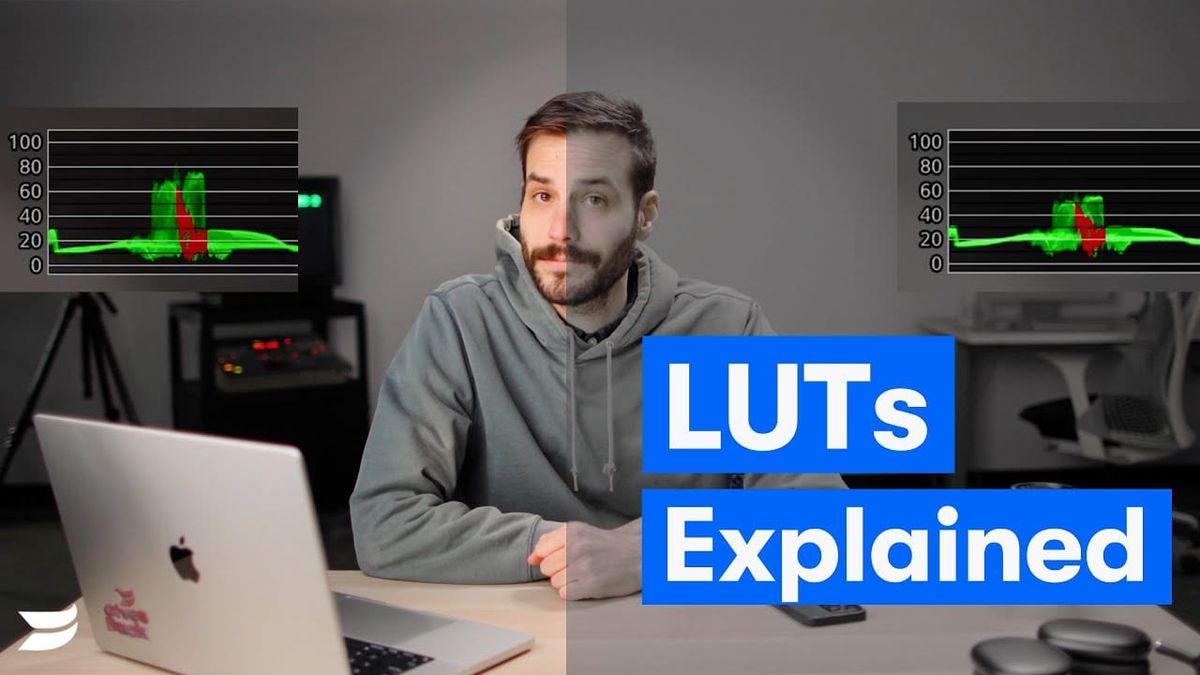
LUT stands for Look-Up Table. It's a file that maps one set of color values to another — transforming the way colors in a video are displayed without permanently altering the original footage. In practical terms, a LUT is either a technical tool for converting between color spaces or a creative tool for applying a specific visual style.
Understanding the difference between those two uses is the most important thing to grasp before you start applying LUTs to your footage.
Technical LUTs vs. Creative LUTs
Technical LUTs serve a functional purpose: converting footage from one color space to another. The most common use is converting Log footage — the flat, desaturated look that cameras like the Sony A7S III or Canon EOS R5 produce when shooting in S-Log or C-Log — to a standard viewable color space like Rec.709.
Without a technical LUT applied, Log footage looks washed out and unusable. The LUT restores the image to something that represents what the camera actually recorded with correct contrast and saturation.
Creative LUTs serve an aesthetic purpose: applying a specific look or grade to footage. Film emulation LUTs that mimic the look of Kodak or Fuji film stocks. Teal-and-orange LUTs that push skin tones warm and shadows cool. Bleach bypass LUTs that desaturate and increase contrast. These are the LUTs people are usually referring to when they talk about "dropping a LUT" on footage.
Featured Video
How to Apply a LUT
In DaVinci Resolve, LUTs can be applied in the Color page either as a starting point in the node structure or as a look at the output stage. Right-click on a node, select LUT, and browse to the file. Resolve also has a dedicated LUT browser with preview thumbnails.
In Adobe Premiere Pro, LUTs are applied through the Lumetri Color panel under the Basic Correction or Creative sections. The Creative section's Look dropdown lets you browse and apply .cube or .look files directly.
In Final Cut Pro, LUTs are applied through the Custom LUT effect in the Effects browser.
Start With Proper Exposure
A LUT cannot fix badly exposed footage. This is the most common mistake people make when starting to use LUTs — applying a creative LUT to footage that was overexposed, underexposed, or shot with the wrong white balance and expecting the LUT to correct the problems.
LUTs work best when applied to properly exposed, neutrally balanced footage. Get the exposure and white balance right in camera, apply a technical LUT to convert to your working color space, make your basic corrections, then apply the creative LUT as a finishing layer.
Intensity and Opacity
Most color grading applications let you control the intensity or opacity of a LUT — how strongly it affects the image. Pulling a creative LUT back to 50-70% is often more effective than applying it at full strength, which can produce an over-processed look.
Think of a LUT as a starting point, not a final answer. Adjust it to suit the specific footage rather than applying it uniformly across every clip.