How to Color Match Two Different Cameras in Premiere Pro
Mixing cameras in one edit? Premiere Pro’s built-in Lumetri Color Match tool can line up footage from different cameras in a few clicks. Here’s how to use it and fine-tune the results.

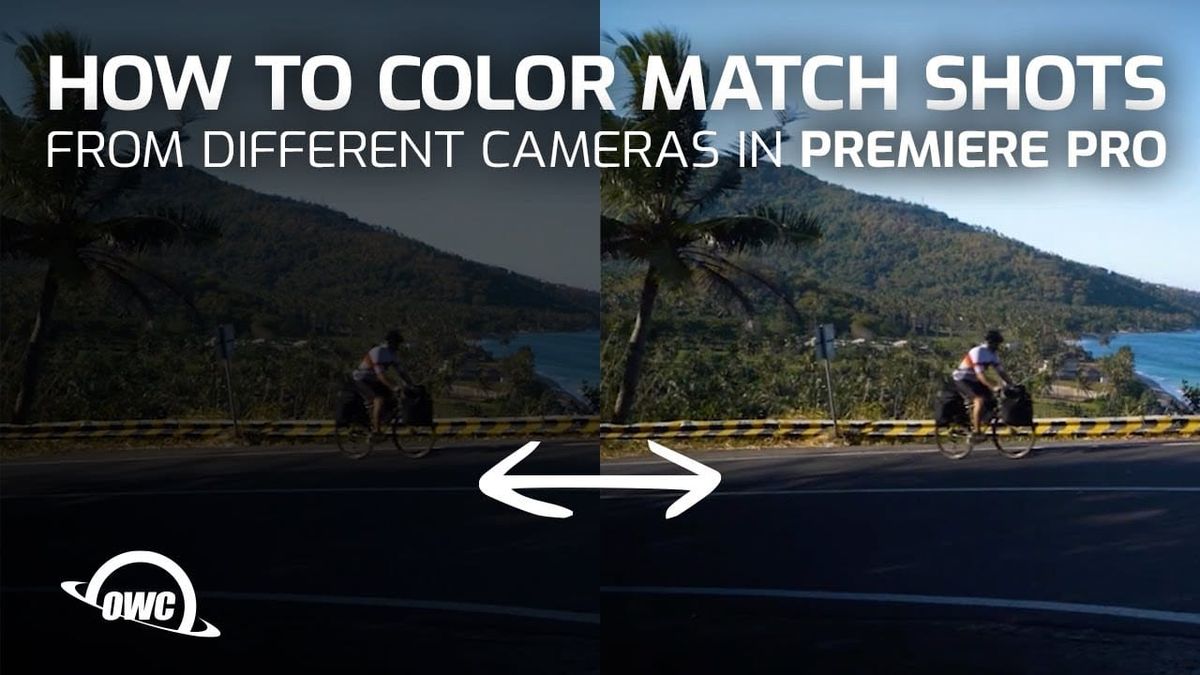
Mixing cameras on one project is normal now. An A-camera, a B-camera, a drone, a phone and a GoPro can all end up in the same edit, and each one renders color a little differently.
Cut those shots together without matching them, and the difference is obvious. Premiere Pro has a built-in tool that does much of the matching for you, and a tutorial from storage and accessories maker OWC shows how to use it.
The Problem With Mixing Cameras
Every camera brand has its own color science, and sensors, picture profiles and white balance settings add more variation. Even two cameras set to the same settings can produce noticeably different skin tones, greens and highlights.
In OWC’s example, the editor matches footage from a Panasonic GH5 with clips from a DJI Mavic 2 Pro drone. Left as-is, the shift between the two cameras pulls viewers out of the story and makes the edit feel less polished.
How Premiere Pro’s Color Match Works
Premiere Pro’s Color Match feature lives in the Lumetri Color panel, under the Color Wheels & Match section. It compares a reference frame with the look you want against the clip you’re correcting, then adjusts the color wheels on that clip to bring it closer.
It also includes Face Detection, which prioritizes skin tones when people are in the frame. That’s useful for interviews and narrative work, where mismatched skin tones are the first thing viewers notice.
Step by Step
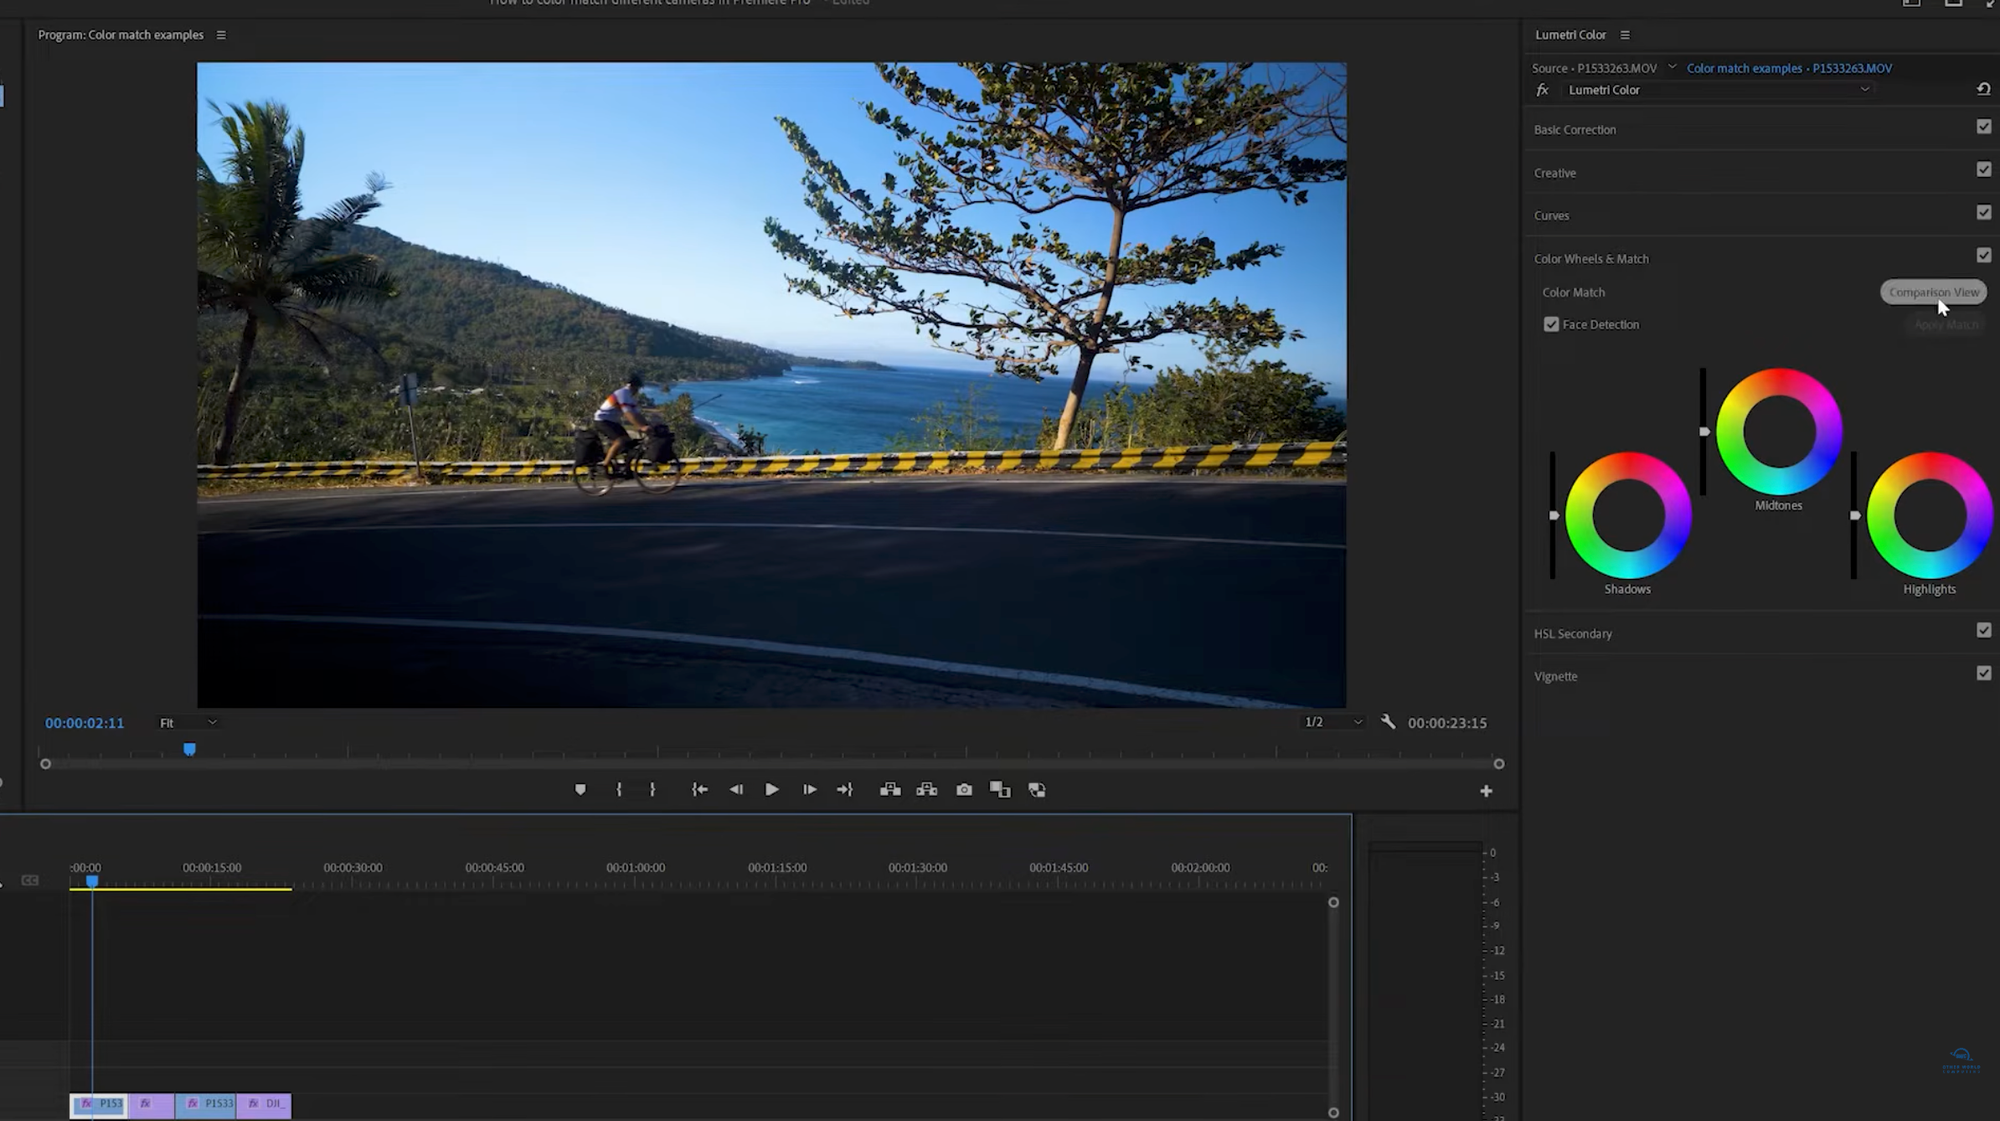
- Open the Color workspace. Go to Window > Workspaces > Color, then expand Color Wheels & Match in the Lumetri Color panel.
- Turn on Comparison View. The Program Monitor shows a Reference frame and a Current frame side by side. You can switch to a vertical or horizontal split if that’s easier to judge.
- Select the clip you want to fix. Move the playhead to the shot that needs correcting. It becomes the Current frame.
- Choose your reference. Scrub the Reference frame to a shot with the look you want, usually from your main camera.
- Click Apply Match. Turn Face Detection off first if neither frame contains people. Premiere then adjusts the shadows, midtones and highlights wheels on the current clip.
- Fine-tune by eye. Adjust the wheels or the Basic Correction controls until the shots sit together, then repeat for other clips from the same camera.
Tips for Better Matches
Start with clean footage. If you shot in a log profile, convert it to a standard look like Rec. 709 first, with Premiere’s color management or the camera maker’s LUT, before matching. Auto matching works much better on corrected footage than on flat log.
Pick a reference frame that represents the scene well, with a mix of shadows, midtones and highlights. Avoid frames dominated by one color, like a wide shot of sky or grass.
Expect to tweak. OWC’s editor says it plainly: “This method isn’t perfect, but as you can see, it does get you very close.” The tool gets most of the way, and a few manual adjustments finish the job.
Matching starts on set, too. Setting the same white balance, frame rate and similar picture profiles on every camera, and shooting a color chart at the start of each setup, makes matching in post faster and more accurate.
Competitive Context
Other editors have their own automatic matching tools. DaVinci Resolve offers Shot Match on its Color page, along with deeper node-based tools for precise matching, covered in How to Grade Rec. 709 Footage in DaVinci Resolve. Final Cut Pro includes a Match Color feature.
For a broader look at how Premiere and Resolve compare for color work, see DaVinci Resolve vs. Premiere Pro: Which Should You Learn in 2026?.
The Signal in the Noise
For editors who mix cameras regularly but don’t have a dedicated colorist, Premiere’s Color Match tool is a real time-saver. It handles the bulk of the correction in a few clicks, leaving only fine adjustments.
It isn’t a replacement for a proper grade on high-end work, where Resolve’s tools give more control. For corporate video, documentary, social content and multi-camera interviews, it’s often all you need.
What’s the hardest camera combination you’ve had to match in one edit? Share how you handled it in the comments.