How to Shoot in Available Light Without It Looking Cheap
Available light doesn't have to look cheap. Here's how to find, shape, and work with existing light sources to produce images that look considered and intentional.

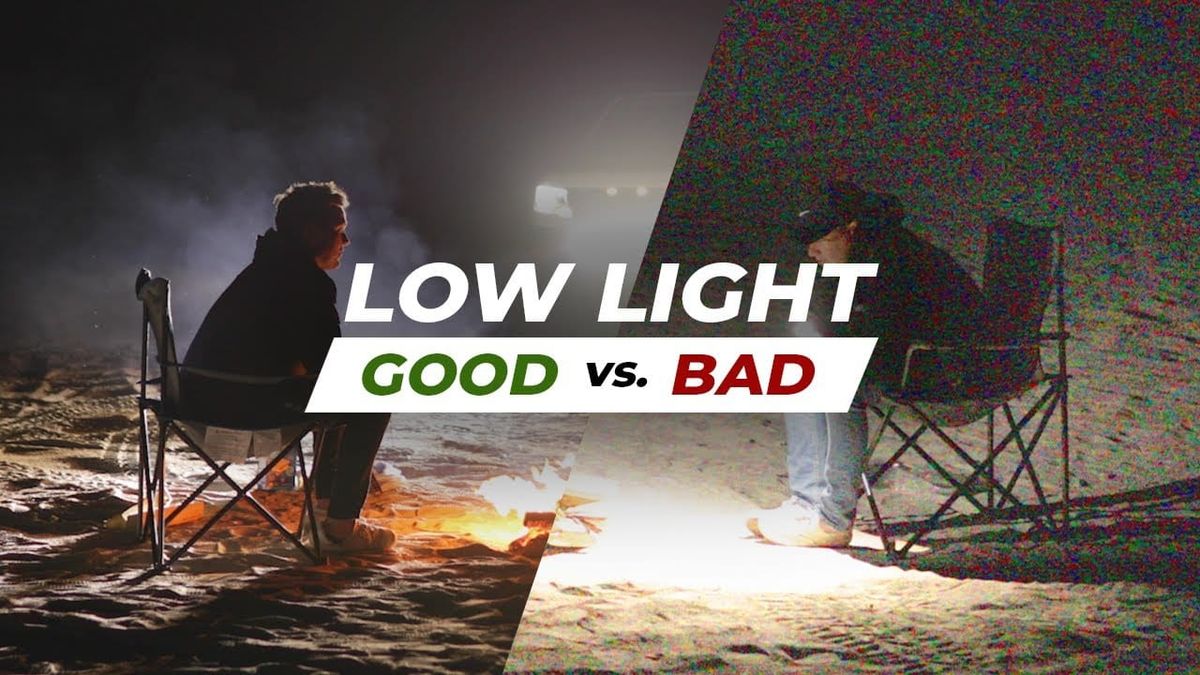
Available light has a reputation problem. It's associated with run-and-gun documentary work, low-budget productions that couldn't afford lighting packages, and the flat, blown-out look of footage shot under overhead fluorescents. None of that is inherent to available light. It's the result of not understanding what you're working with.
The best available-light cinematography doesn't look like available light. It looks considered, intentional, and often more natural than anything a lighting rig can produce. Here's how to get there.
Available Light Doesn't Mean No Control
The first misconception to clear up: shooting in available light doesn't mean accepting whatever the environment gives you. It means working with existing light sources rather than bringing your own.
You still have significant control. You choose where to position your subject relative to the light. You choose what time of day to shoot. You choose which direction to face the camera. You choose whether to add a reflector or diffusion panel to modify what's there. Available light is a starting point, not a constraint.
Find the Direction
The quality of available light matters far less than its direction. Flat, directionless light — the kind produced by overcast skies or overhead office fluorescents — produces flat, directionless images. Directional light creates depth, shadow, and dimension.
Before you set up a shot, identify where the strongest directional light source is coming from. A window. A skylight. The sun breaking through cloud cover. Position your subject so that light source becomes your key light. Turn them away from it and you have back light. Put them sideways to it and you have side light. The light hasn't changed — your relationship to it has.
Work With Windows
A large window is one of the best light sources available to any filmmaker. It produces soft, directional light with a quality that's genuinely difficult to replicate with artificial sources.
North-facing windows in the northern hemisphere provide consistent, diffused daylight throughout the day without direct sun. South-facing windows produce harder, more directional light that changes throughout the day. East and west-facing windows give you strong directional light in the morning and evening respectively.
Position your subject close to the window with the window to their side for classic interview or portrait lighting. The further they move from the window, the darker and more dramatic the falloff.
Use Reflectors to Fill Shadows
A reflector — a white foam core board, a collapsible silver reflector, even a white wall — can bounce available light back into the shadow side of your subject without introducing an artificial light source.
This is the technique that separates available-light footage that looks cheap from footage that looks intentional. A filled shadow reads as natural. An unfilled shadow with harsh falloff reads as underfunded.
Keep the reflector close enough to make a visible difference. How close depends on the strength of your light source and how much fill you need.
Expose for the Subject, Not the Background
The most common exposure mistake in available-light shooting is letting the camera expose for the overall scene rather than the subject. The result is a correctly exposed background and an underexposed or inconsistently lit subject.
Expose for your subject's face. If the background blows out or goes dark as a result, that's usually acceptable — it's often preferable to a subject that's fighting the frame for brightness.
Use manual exposure or exposure lock to prevent the camera from adjusting as your subject or the light moves.
Embrace Golden Hour
The hour after sunrise and before sunset produces some of the most usable available light available to any filmmaker. Warm, low, directional light with long shadows and a quality that's genuinely beautiful.
If your production can schedule exterior shooting during golden hour it's worth doing. The tradeoff is that you have roughly 20-30 minutes of optimal light before it shifts significantly. Plan your shots in advance, move fast, and use every minute.