How Do You Make a Speed Ramp Feel Alive in DaVinci Resolve?
Joel Van Beek's four-step Fusion workflow for speed ramps that feel energetic and natural in DaVinci Resolve, not stiff or mechanical.

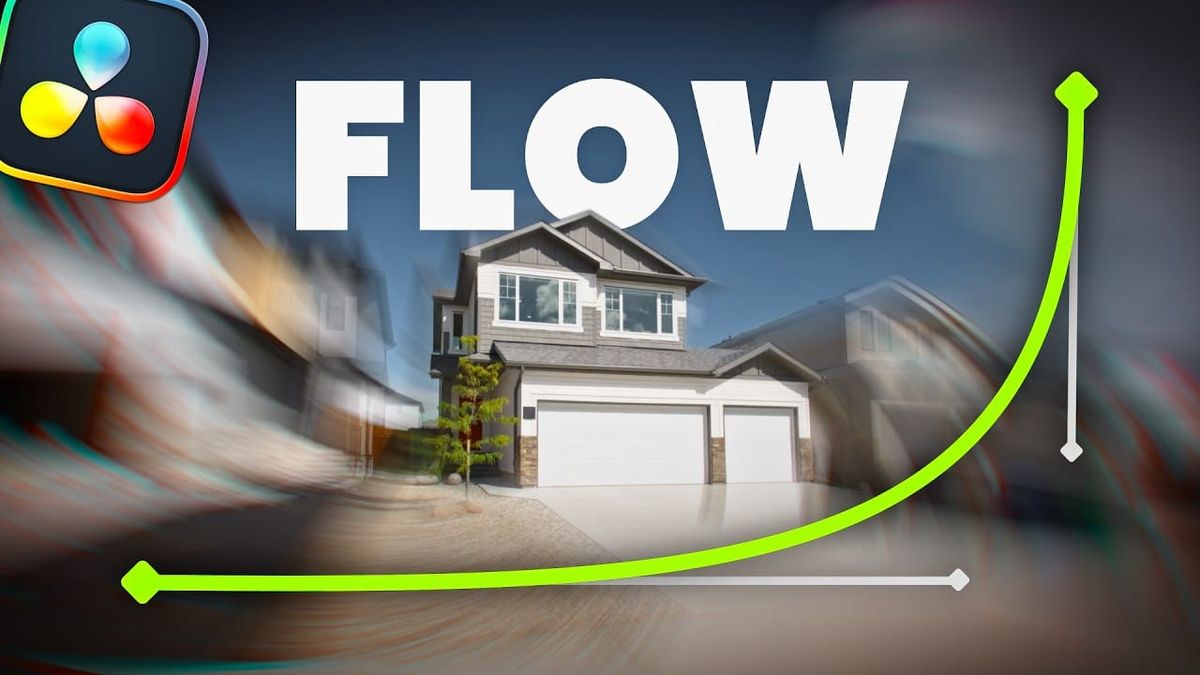
A good speed ramp should feel like it has momentum behind it. Too often, though, ramps come out stiff: a clean, even change in speed that technically works but feels mechanical. Editor and creator Joel Van Beek breaks down how to fix that using DaVinci Resolve's Fusion page, in four steps that add easing, movement, and continuity to your transitions.
Why Basic Speed Ramps Fall Flat
Most editors build speed ramps directly on the edit timeline. That works for simple changes, but it offers limited control over how the motion accelerates and decelerates.
Van Beek's approach moves the work into Fusion, Resolve's node-based compositing page. There, you can shape motion with transform nodes and fine-tune timing curves with the spline editor, giving you far more control over how a transition actually feels.
His core point is that perfection isn't the goal. "If a speed ramp is too clinically perfect then you're sort of missing the point because you want the video to actually feel alive and have some real energy behind it."
Step 1: Add Custom Easing
The first step is controlling how motion speeds up and slows down. Using transform nodes and the spline editor, you shape the easing curve yourself rather than relying on a default linear change.
That's what separates a ramp that feels intentional from one that simply jumps between speeds.
Step 2: Build Flow With Zoom and Rotation
Next, Van Beek layers in sequential zoom and rotation effects. Timed to the beat of your music, these movements carry energy from one shot into the next.
The result feels like one continuous motion rather than two separate clips stitched together.
Step 3: Add Natural Wobble
Perfectly smooth movement can look artificial. Adding subtle camera shake or motion blur gives the transition a more organic, handheld quality.
This is where his "too clinically perfect" warning comes into play. A little imperfection makes the motion read as real.
Step 4: Adjust Pivot Points for Continuity
Finally, adjusting the pivot point of your transforms keeps framing consistent between shots. When a zoom or rotation centers on the right part of the frame, the viewer's eye stays anchored as one clip hands off to the next.
That continuity matters most when cutting between multiple shots in a sequence.
Where This Technique Shines
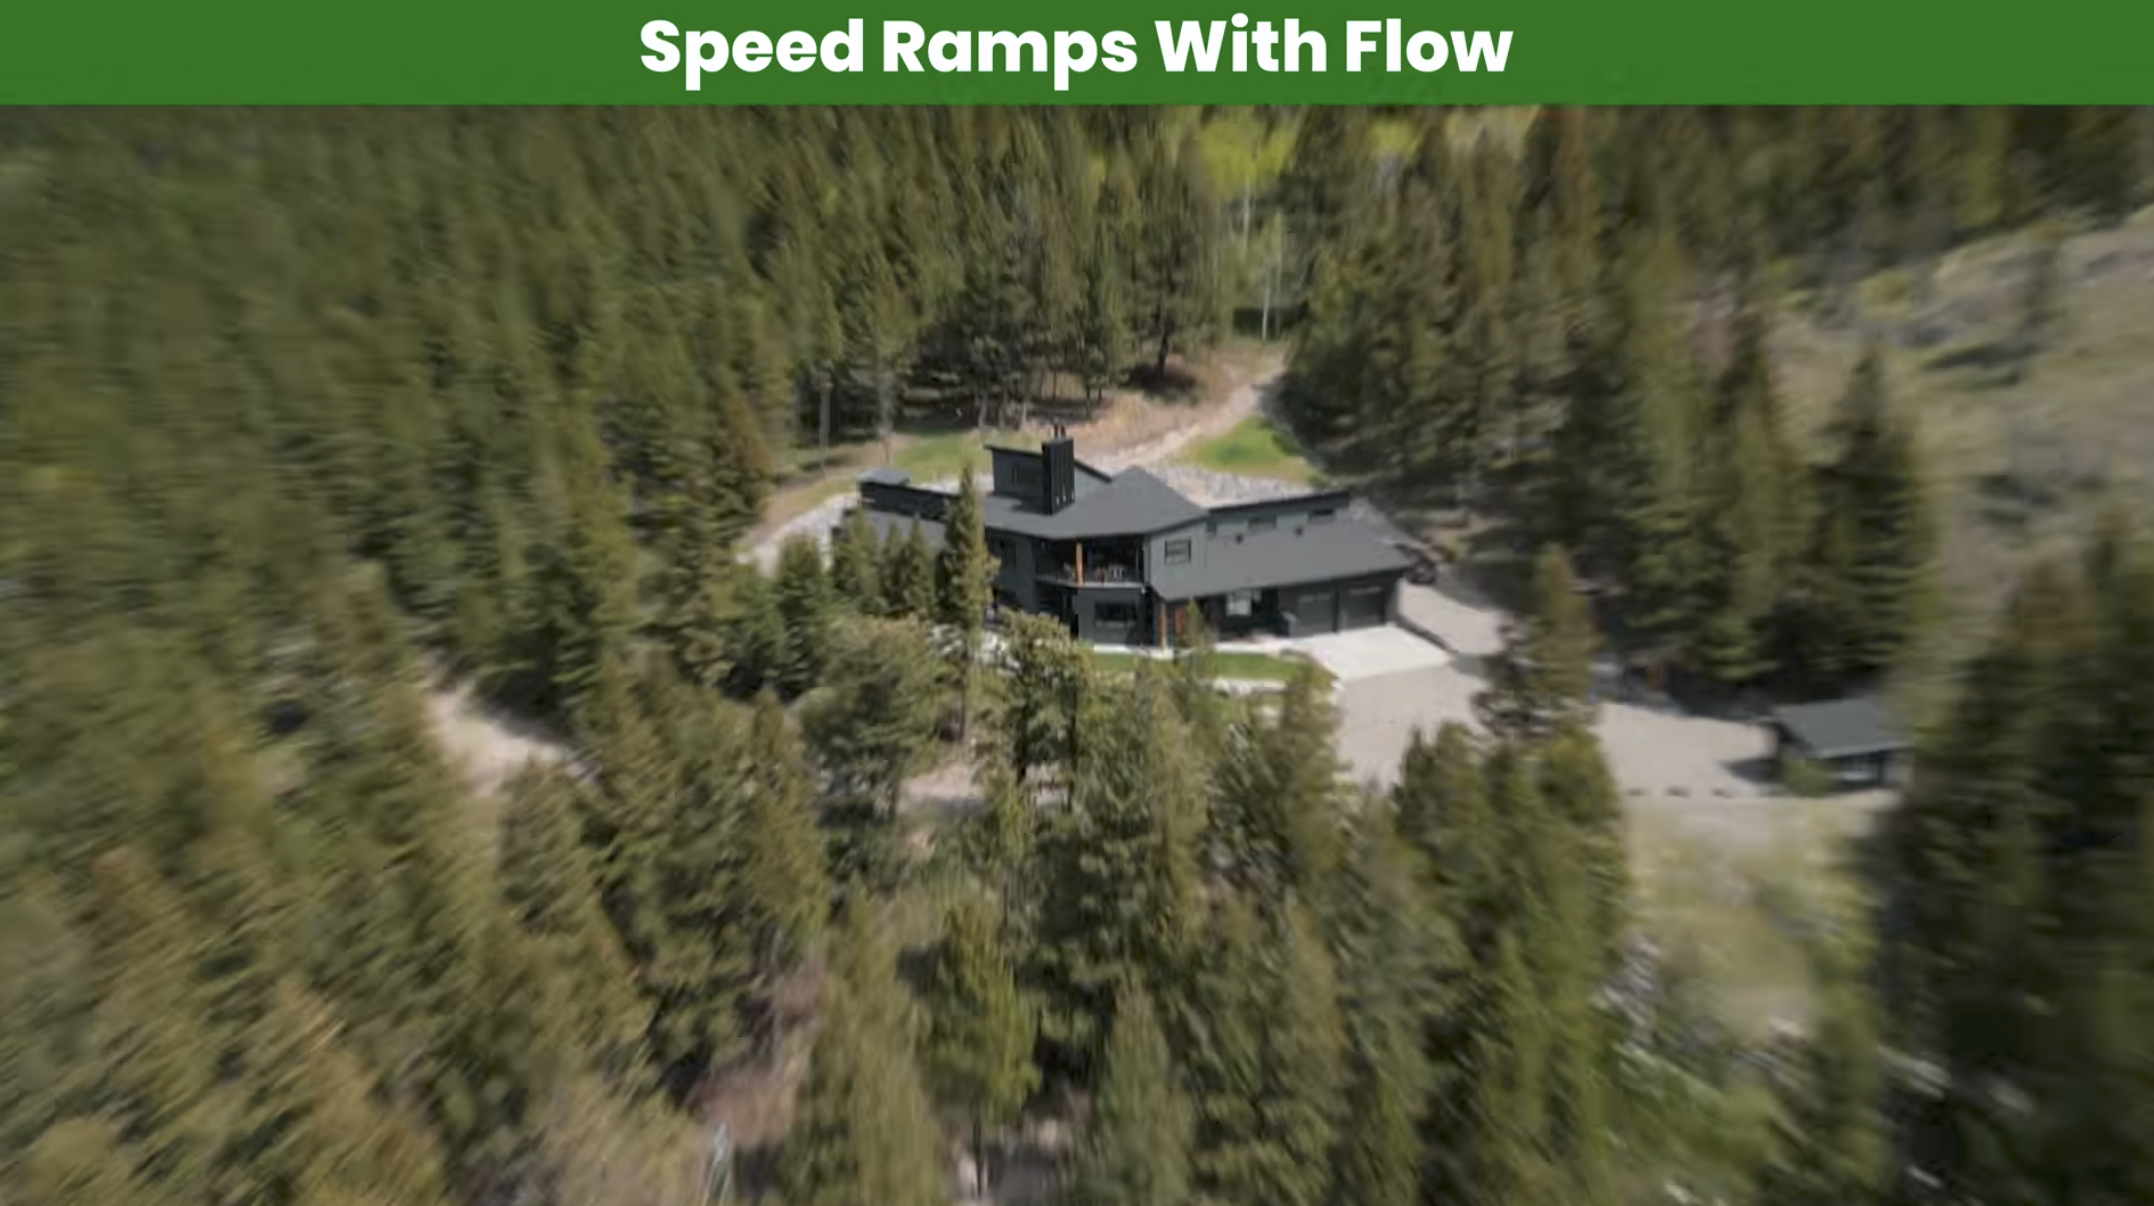
Van Beek's methods are especially useful for footage that can feel flat on its own, like drone shots and tracking shots. Adding eased speed changes, beat-matched movement, and subtle shake can turn a static-feeling shot into something with real momentum.
It's a natural fit for music videos, travel edits, social content, and brand work where energy and rhythm drive the cut.
Competitive Context
There are simpler ways to build speed ramps. Resolve's own timeline speed tools handle basic ramps, and third-party transition plugins offer preset movement for editors who want speed over control. Premiere Pro and Final Cut Pro each have their own speed ramping tools too.
The advantage of the Fusion workflow is granular control. Node-based compositing lets you adjust every part of the motion independently, which is harder to do with presets or timeline-only tools.
The Signal in the Noise
The most useful takeaway here isn't any single Fusion technique. It's the mindset. Smooth isn't the same as good, and the goal of a speed ramp is to make movement feel energetic and intentional, not mathematically perfect.
Van Beek's four steps give editors a clear framework for getting there, and Fusion is available in the free version of Resolve, so there's no plugin required to try it.
Do you build your speed ramps on the timeline, or have you started using Fusion for more control?
The Details
- Software: DaVinci Resolve, Fusion page
- Step 1: Custom easing with transform nodes and the spline editor
- Step 2: Sequential zoom and rotation timed to music
- Step 3: Subtle camera shake or motion blur for natural movement
- Step 4: Adjusting pivot points for framing continuity between shots
- Best for: drone footage, tracking shots, music videos, social and travel edits