Kling 3.0's Multi-Shot Storyboard Mode Explained: How to Use It and When It Matters
Kling 3.0's multi-shot storyboard mode generates up to six camera cuts as one continuous video — with character consistency and native audio throughout. Here's how to use it and when it's worth it.

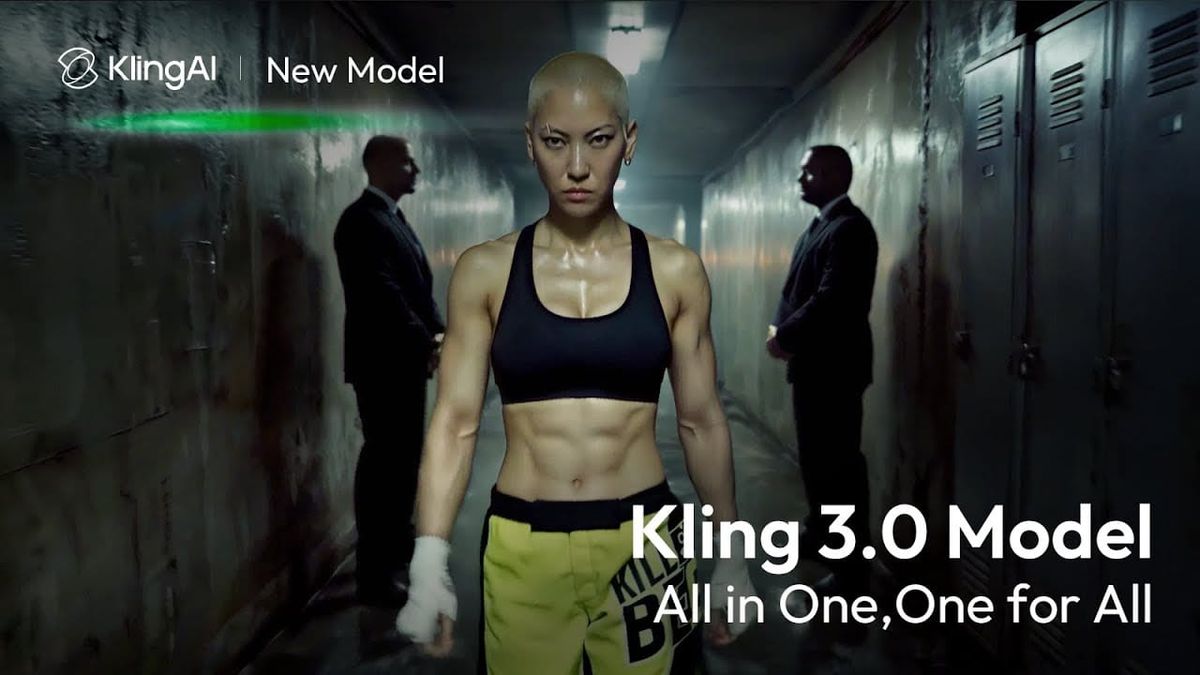
Every AI video model before Kling 3.0 had the same fundamental limitation: one prompt, one clip. You'd generate a scene, stitch it to the next one in an editor, and hope the two clips looked like they belonged together. Kling 3.0's multi-shot storyboard mode changes that workflow — instead of generating isolated clips and assembling them in post, you define a sequence of shots in a single prompt and the model generates the entire sequence as one coherent video.
That's a different relationship with the tool. Here's how it works, how to use it, and when it actually matters for filmmakers and content creators.
What multi-shot storyboard mode actually is
Multi-shot storyboard mode lets you define up to six individual shots within a single Kling 3.0 generation. Each shot gets its own prompt describing the scene, camera angle, action, and duration. The model then generates all six shots as one continuous video, handling the transitions, maintaining character consistency across shots, and keeping audio synchronized throughout.
Two modes are available:
Smart Storyboard — describe a scene or narrative in your prompt, and Kling's AI director automatically plans the shot breakdown: where to cut, what camera angles to use, how to transition between scenes. Best for rapid visualization when you have a general concept but haven't pre-planned your coverage.
Custom Storyboard — you define each shot individually, specifying camera type (wide, medium, close-up, tracking), duration (3–15 seconds total across all shots), action, and any character or audio requirements. Best when you have a specific shot list in mind and want to direct coverage rather than let the model decide.
How to use it: the workflow
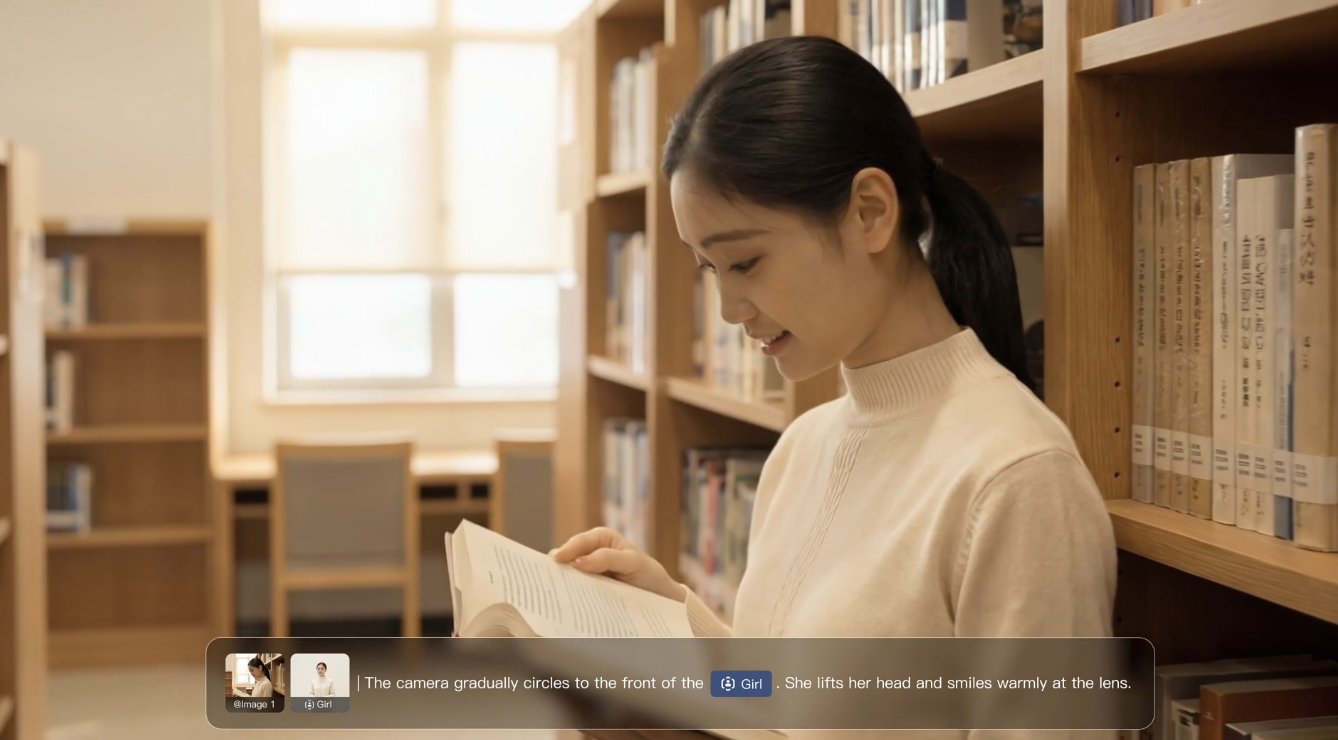
In Kling's native dashboard at klingai.com:
- Open the video generation interface and locate the Multi-Shot toggle — enable it
- Choose Smart Storyboard (automatic) or Custom Storyboard (manual)
- For Custom mode: define each shot with its own description — camera type, subject action, environment, duration
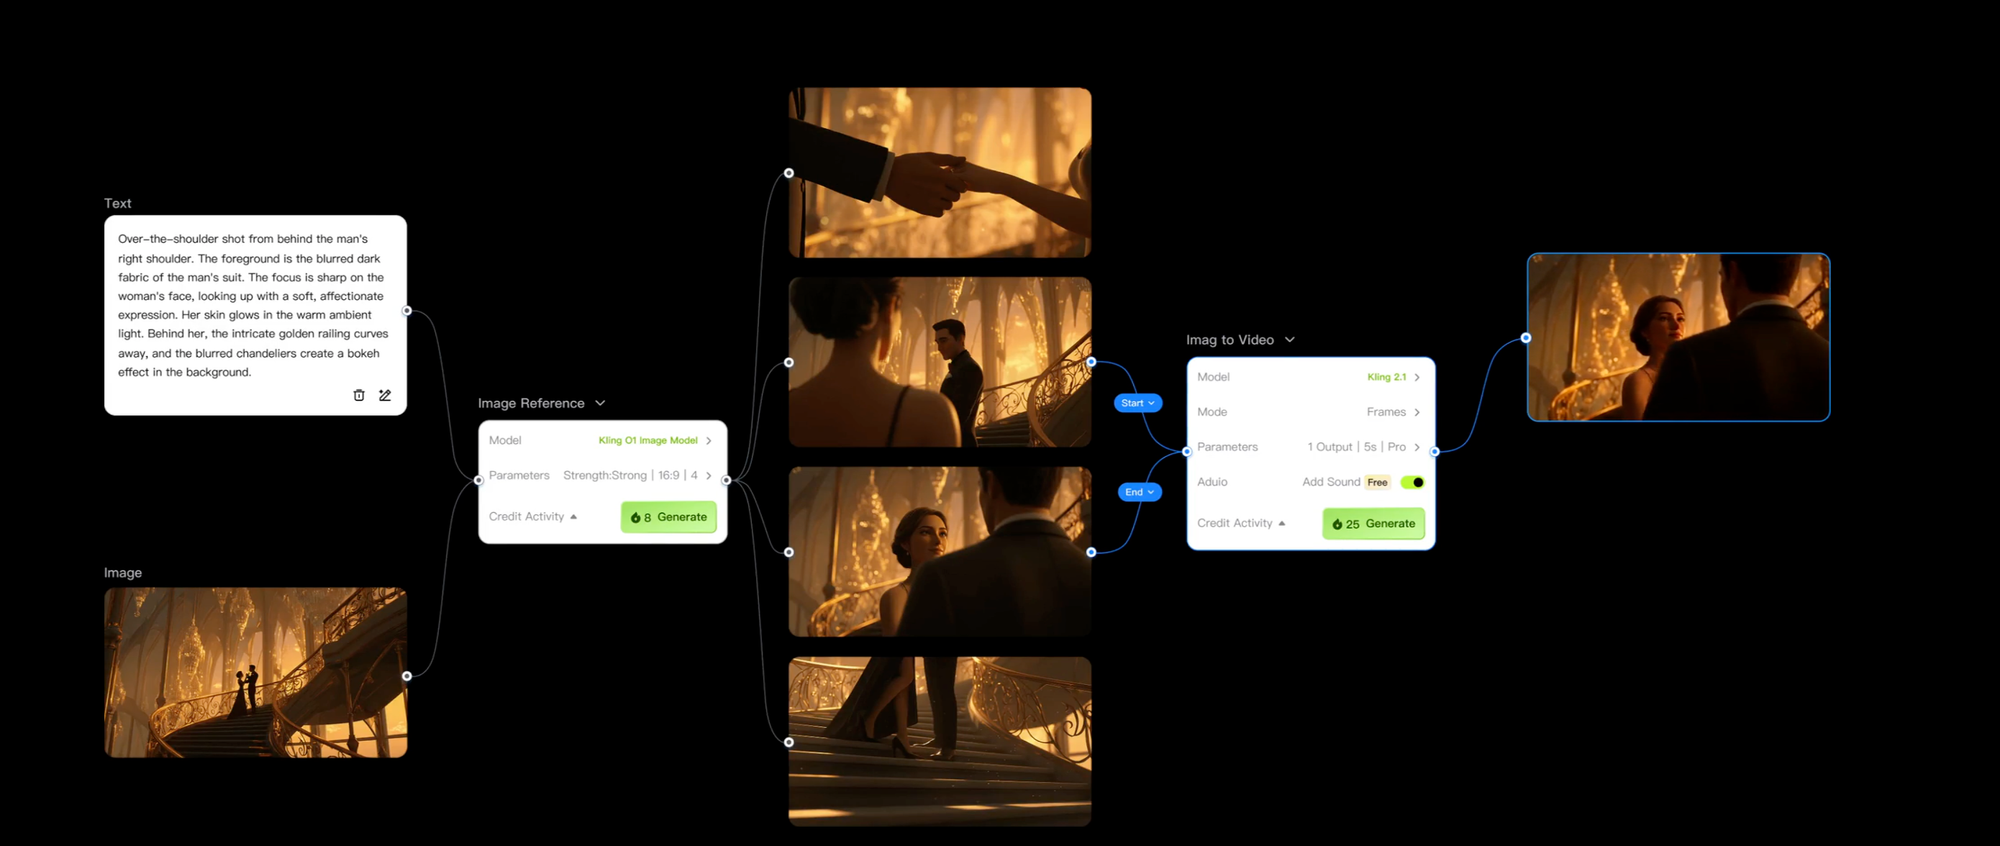
- If using image-to-video mode: upload a reference image and enable "Bind Subject" to lock character identity across all shots
- Add audio prompts if you want synchronized dialogue or ambient sound
- Generate — the model produces all shots as one continuous video
A practical shot list for a 30-second brand piece follows a natural arc: establishing shot → product close-up → action sequence → detail shot → wider context → closing pull-back. Writing these out before touching the prompt makes the Custom mode significantly more effective.
Character consistency across shots
The "Bind Subject" feature is what makes multi-shot mode viable for character-driven content. Enable it in image-to-video mode with a reference image of your subject, and Kling 3.0 maintains facial features, clothing, posture, and proportions across every shot in the sequence — without visual drift between cuts.
For Pro mode specifically: select your subject in the reference image, assign it an element ID, and reference that ID in each shot's prompt. This element binding system carries the character identity through camera angle changes, lighting changes, and scene transitions.
When multi-shot mode is the right tool
- Brand or commercial content where a sequence of shots needs to feel like one produced piece rather than assembled clips
- Social content where you need a complete 15-30 second video without editing software
- Pre-production visualization — rapid storyboard animation for client pitches or director review before committing to a shoot
- Narrative sequences where shot-reverse-shot or coverage across a scene matters
- Any project where clip-to-clip character consistency is the hardest part of the workflow
When it's not the right tool
- Shots requiring precise, painted motion control — Runway's Motion Brush handles that better
- Long-form content beyond 15 seconds per generation — you'll still need to stitch generations together for anything longer
- Complex multi-character scenes where multiple separate subjects all need individual consistency locking — the system works best on one primary subject per sequence
The credit math
Multi-shot mode generates as one continuous clip, so credit cost is based on total output seconds at Kling's standard per-second rate (roughly $0.112/second without audio, $0.168/second with audio via API). A 15-second multi-shot sequence with audio costs approximately $2.52 via API — producing what would otherwise require six individual clip generations, stitching, and audio work.
For creators using Kling's subscription plans rather than API, the daily credit allocation applies across all generation types including multi-shot — the mode doesn't consume credits differently, it just produces more usable output per generation.
The Signal in the Noise
Multi-shot storyboard mode is the closest any AI video platform has come to functioning as an actual production tool rather than a clip generator. The ability to define coverage, plan transitions, and maintain character consistency across a sequence — in a single generation — compresses what used to be a multi-step post-production workflow into a single prompt. It's not a replacement for a professional edit, but for a first pass, a client visualization, or social-first content, it eliminates a significant amount of manual assembly work.